WordPress: Login
- Visit the WordPress login page - [website url]/wp-admin/. Example www.yccd.edu/wp-admin/
- Enter your username and password as instructed in the account setup email you received.
Once successfully logged in, you’ll be at the Dashboard.
WordPress: Terminology
WordPress has a number of content types such as web pages, images and documents.
The most common types are Pages and Posts. They are created and edited in a similar way but have different uses and characteristics.
Pages
Pages are the most common content type on our various websites. They:
- are hierarchical i.e. they can have parents and child pages
- are listed in the left or right side menu of the website sections
Posts
Posts are typically used for the news section on home pages They:
- are not hierarchical, instead organized by categories.
Unless specified, the guidance below applies equally to Pages and Posts. To avoid confusion they are generically referred to as web pages.
WordPress: Creating the Web Page Title
See Page Titles for standards and accepted usage.
When you create a web page, the title is entered in the first box on the edit screen:

Select the box and type the web page title. You may also copy and paste the title from another application.
WordPress: Editing the Web Page Title
See Page Titles for standards and accepted usage.
If you are editing a web page, the title box is the first box on the edit screen:

Select the box and make your edits. When finished, select the blue Update button in the Publish box on the right of the edit screen.
WordPress: Creating Headings
See Headings for standards and accepted usage.
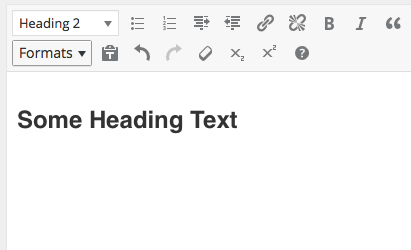
Type the text for the heading and select it:

From the style dropdown, select the appropriate heading:
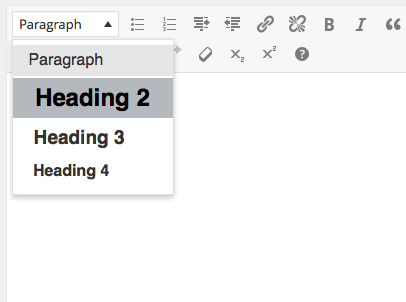
The heading will be created:
WordPress: Accordions
If there is a lot of content on a web page in sections it is possible to collapse the content under each heading . The heading then becomes a clickable element that will toggle between showing and hiding the content underneath it. This is the accordion feature you see here on this page for each topic.
To enable this feature, contact helpdesk@yccd.edu with the URL of the page you want the accordion feature installed.
WordPress: Copy and Pasting
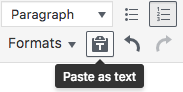
If you wish to insert content from another electronic source such as a Word document or PDF, you must paste it into the content editor as plain text.
Use your preferred method to select and copy the text from the source.
Select select the Paste as text button in the toolbar of the content editor:
WordPress: Creating Paragraphs
See Paragraphs for standards and accepted usage.
If text is typed into the content editor no other styling is applied then it will be formatted by default as a paragraph. Pressing return when a sentence is finished will create a new paragraph.
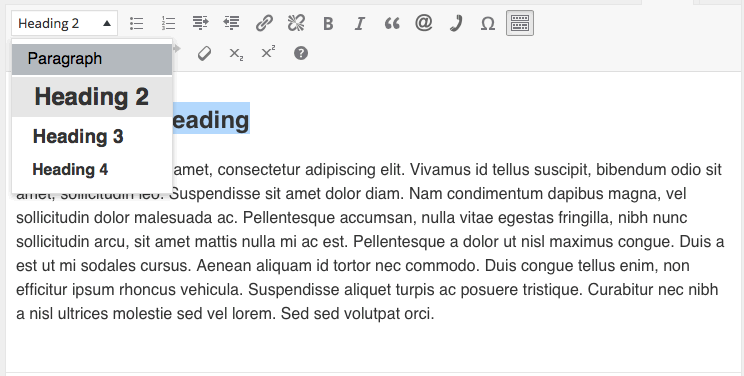
If content needs to be changed from something else to a paragraph (for example a heading made in error) then select the text and choose Paragraph from the style dropdown. In this example, a Heading 2 is being turned into a paragraph:
WordPress: Bulleted (Unordered) Lists
See Bulleted (Unordered) Lists for standards and accepted usage.
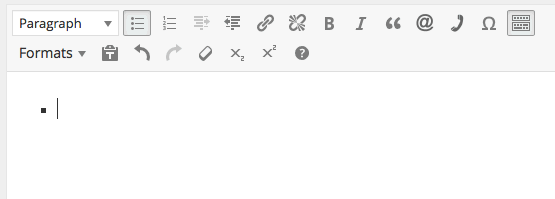
To start an unordered list, place your cursor where you wish it to start. Select the Bulleted list button:

The first bullet will be inserted and the item can be typed.
Pressing return while writing an unordered list will insert a new list item under the previous one.
To end the list, either de-select the Bulleted list button to deactivate it, or press return twice.
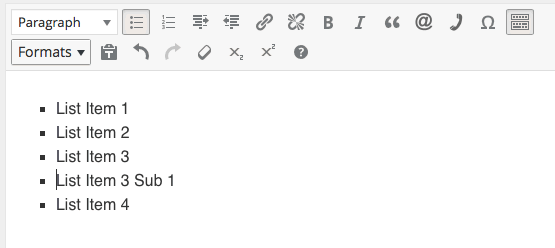
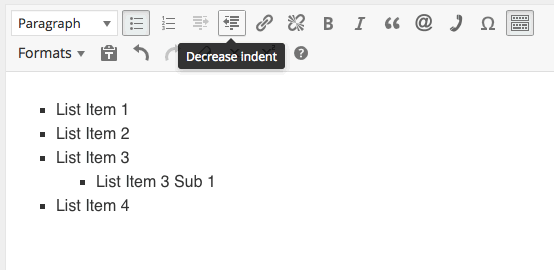
Bulleted lists may be nested. Use this feature sparingly as large nested lists can be harder to read. To make a list item a child of the item above it, place your cursor on the item you wish to nest:
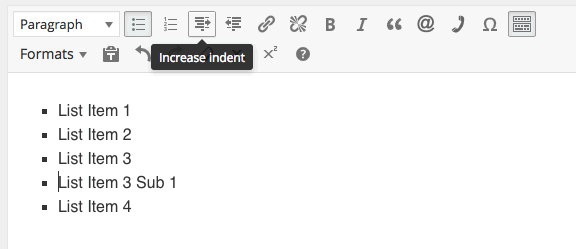
Select the Increase indent button:
The item will be nested:
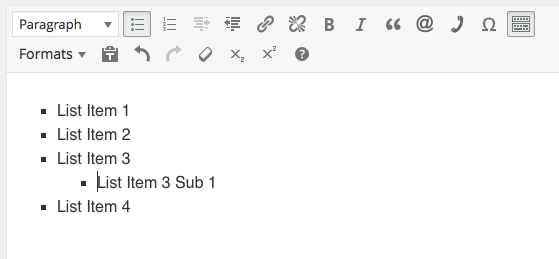
Pressing return at the end of the your nested item will insert another item at the same level of indentation as the one above.
To return a list item to the same level as its parent, place your cursor on the desired item and select the Decrease indent button:
WordPress: Numbered (Ordered) Lists
See Numbered (Unordered) Lists for standards and accepted usage.
The process is the same as for unordered lists above.
WordPress: Links (Hyperlinks)
See Links (Hyperlinks) for standards and accepted usage.
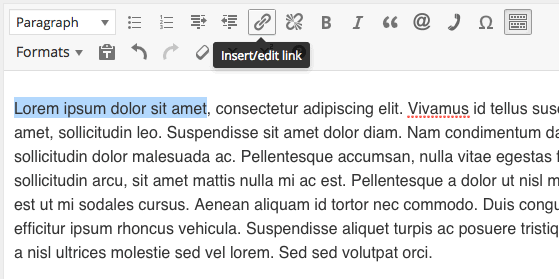
In the content editor, highlight the text to be the hyperlink and select the Insert/edit link button.
In the Insert/edit link dialog, either paste or type in link into the URL field. The Link Text will contain any text that you previously highlighted. You can change it here if you wish.
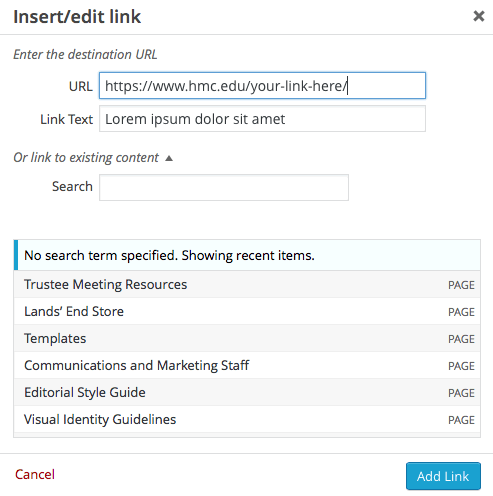
Alternatively, you may use the Search field to find a Page or Post within the current site. Highlight your desired web page and the system will populate the URL field.
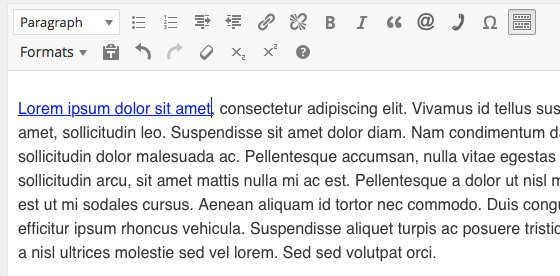
When you have completed these steps, select the Add Link button. The hyperlink will now be visible in the editor.
To remove a link, place the insertion point anywhere on the link and select the Remove link button.

WordPress: Email Addresses
See Email Addresses for standards and accepted usage.
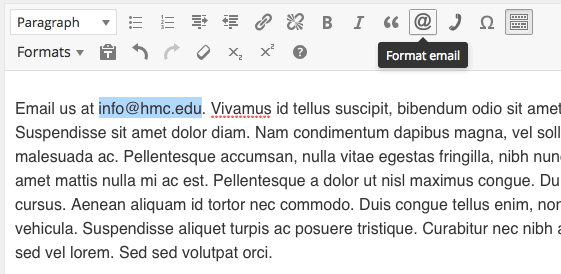
In the content editor, write out the email address.
Highlight the email address and select the Format email button:
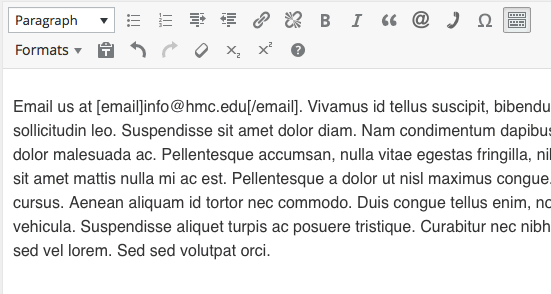
The system places code around the email address that will format it when displayed on the web page:
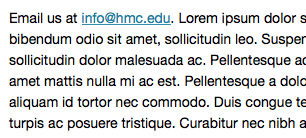
When published and viewed, the email address will be a selectable link:
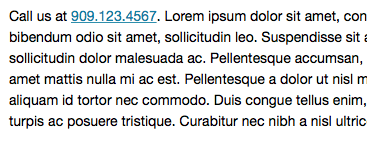
WordPress: Phone or Fax Numbers
See Phone and Fax Numbers for standards and accepted usage.
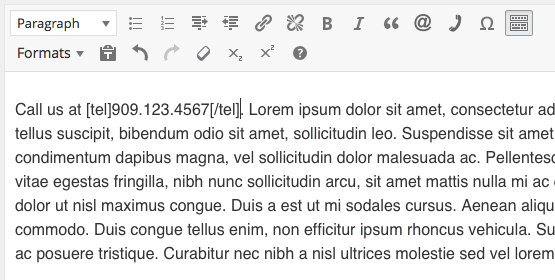
In the content editor, write out the phone or fax number.
Select the number and select the Format telephone number button:

The system places code around the number that will format it when displayed on the web page:
When published and viewed, the number will be a selectable link:
WordPress: Adding Featured Image
See Images for standards and accepted usage.
Images can either be added to a web page as the Featured Image or within the content itself. Using the Featured Image for a web page that has just one image is the easiest method.
While viewing the editor, at the bottom of the right side column of boxes is Featured Image:
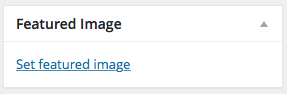
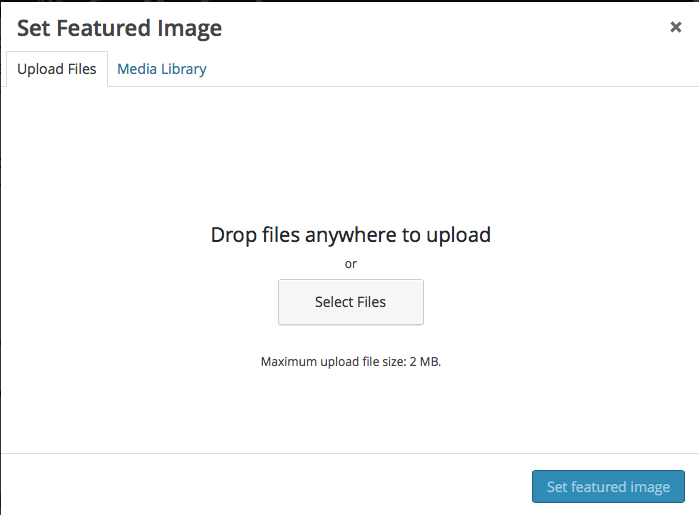
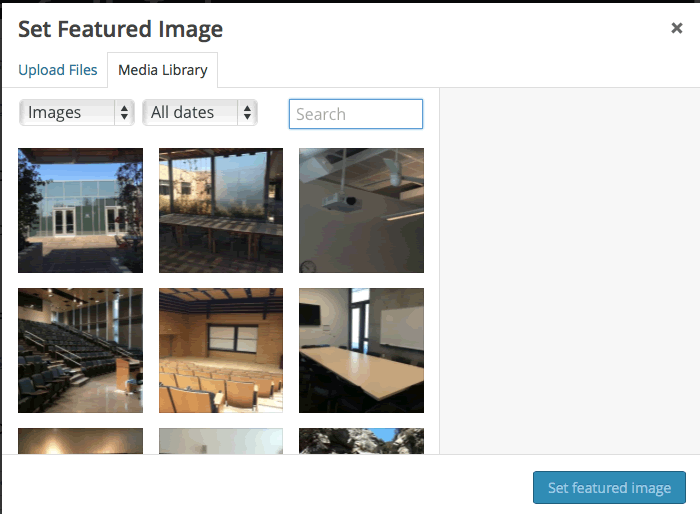
Select the Set featured image link and the Set Featured Image dialog opens. There are two tabs: Upload Files that allows new images to be uploaded and Media Library that allows one to be chosen from the existing library.
Upload Files:
Media Library:
Using the Upload Files tab, images may be drag and dropped or selected for upload as defined by your computer’s operating system.
After either uploading the image or selecting an existing one from the library, the right side of the library popup allows configuration of the image:
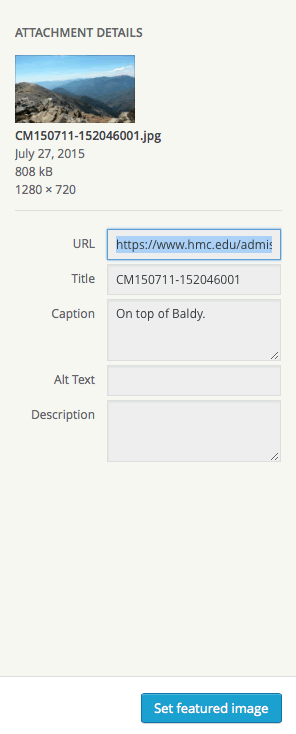
- Title: this is not used on the website but will allow images to be searched more easily within the library. Images should be named relevantly and simply.
- Caption: Optional. Any text entered here will be displayed underneath the image
- Alt Text: If a caption is not specified, then alt text is required.
- Description: Not required or used and may left blank.
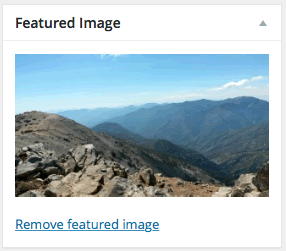
When finished, select the Set Featured Image button. A thumbnail will indicate that the image is set:
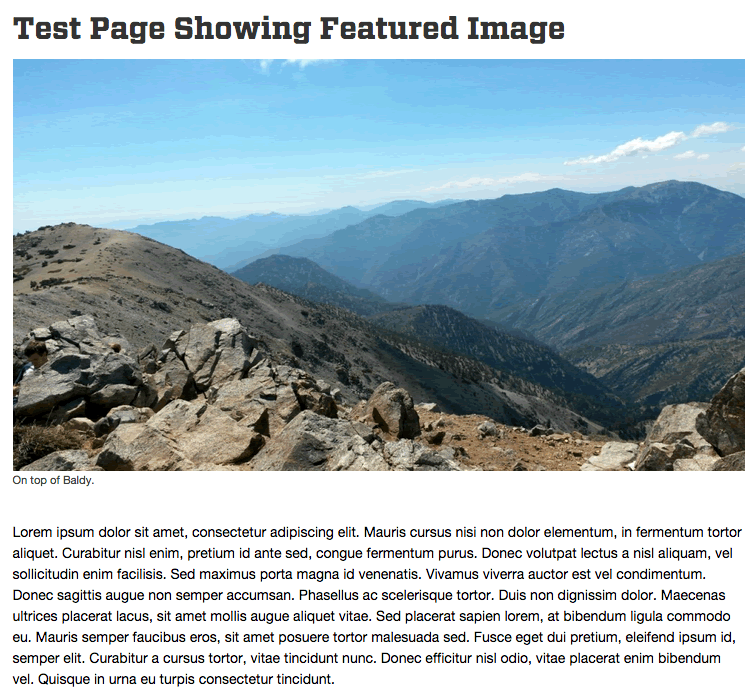
When the web page is published or updated, landscape images will appear underneath the title and above the content:
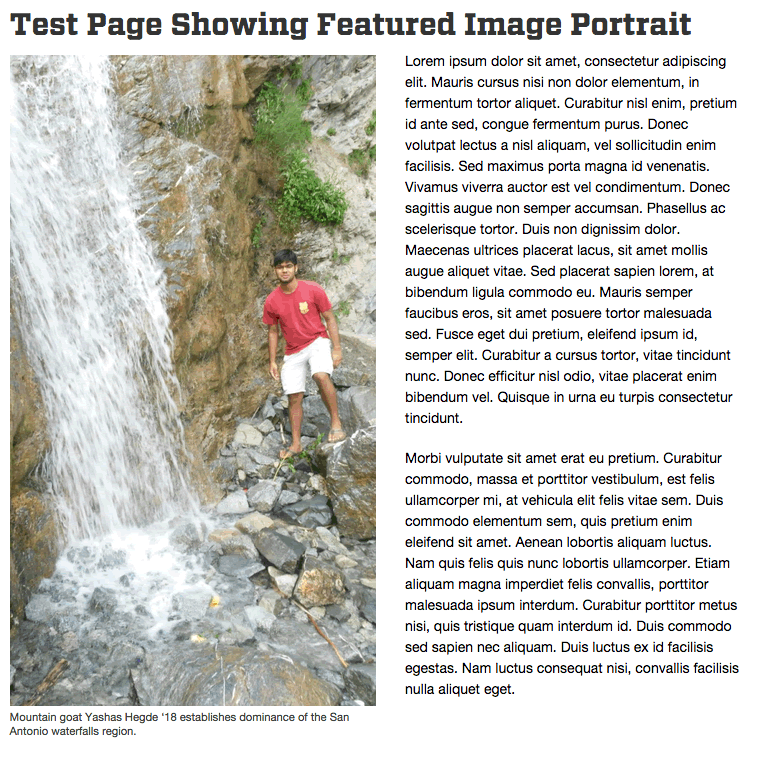
A portrait image will be underneath but floated to the left of the content which will wrap:
WordPress: Adding Images Within Content
Images may be added anywhere within a web page’s content.
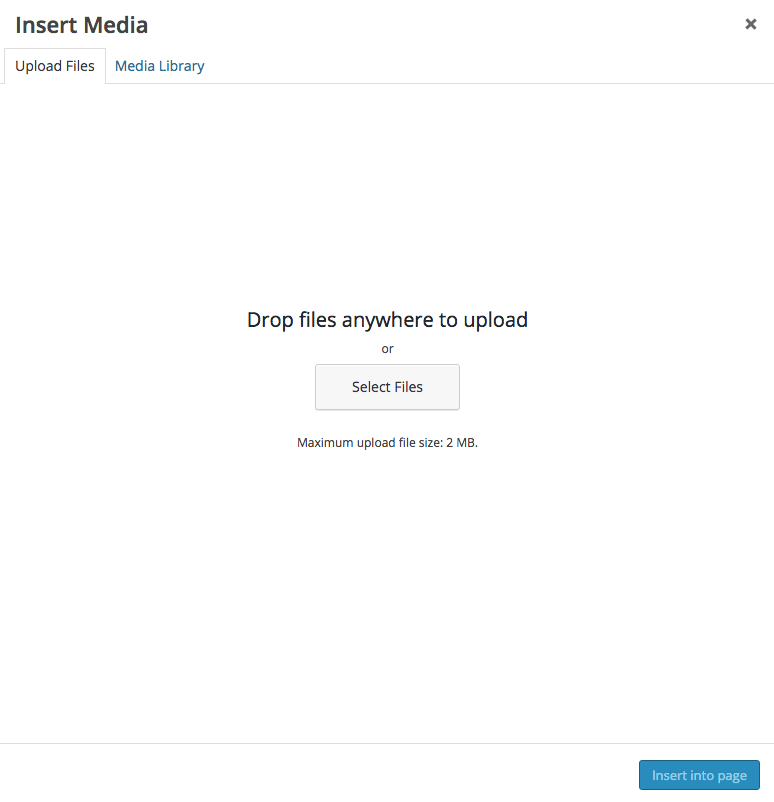
Place your cursor where you wish the insert the image and select the Add Media button that is above the editor toolbar:
The Insert Media dialog opens. There are two tabs: Upload Files that allows new images to be uploaded and Media Library that allows one to be chosen from the existing library.
Upload files:
Media Library:

Using the Upload Files tab, images may be drag and dropped or selected for upload as defined by your computer’s operating system.
After either uploading the image or selecting an existing one from the library, the right side of the library popup allows configuration of the image:
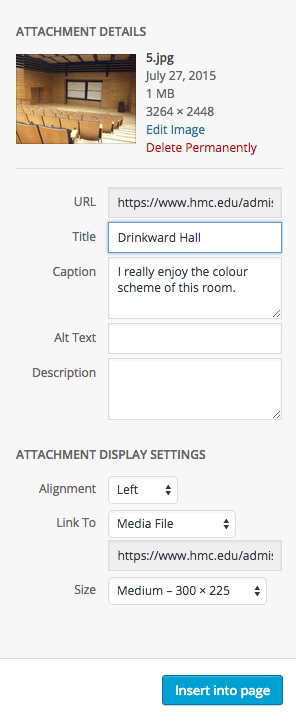
- Title: this is not used on the website but will allow images to be searched more easily within the library. Images should be named relevantly and simply.
- Caption: Optional. Any text entered here will be displayed underneath the image
- Alt Text: If a caption is not specified, then alt text is required.
- Description: Not required or used and may left blank.
The section called Attachment Display Settings allows the settings to be configured for the image’s size, position and what should happen if the image is clicked.
Alignment
- Left: float the image left. Text will be wrapped around the image
- Center: the image will be centered and the text will not wrap around the image
- Right: float the image right. Text will be wrapped around the image.
- None: the image will not be floated but will be aligned to the left. Text will not wrap around the image.
Link To
- Media File – if clicked, the image will link to the full size version of the image.
- Attachment Page – if clicked, the image will link to a web page containing just the image. It is not recommended you select this option
- Custom URL – if clicked, the image will link to a URL elsewhere. This could be another web page, a PDF download or totally different website. Only use this if the image is being used to promote another web page or website.
- None: If the image is clicked, nothing will happen.
Size
Depending on the size of your original image, a number of options will be available for displaying the image on the web page. The actual size will depend on the dimensions and ratio of the image, with the exception of Thumbnail that will always be 150 x 150 pixels
When you have the image configured, select the Insert into page button:
WordPress: Italics
Before applying italic formatting to text, see the section on using italics in the Website Style Guide.
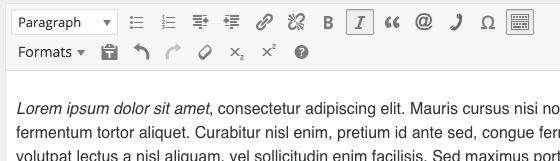
Highlight the text to be italicized and select the Italic button:
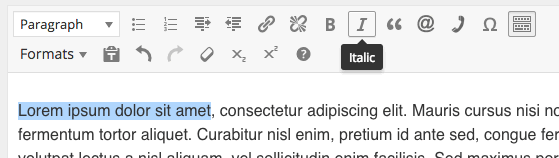
The italic text will be visible in the editor:
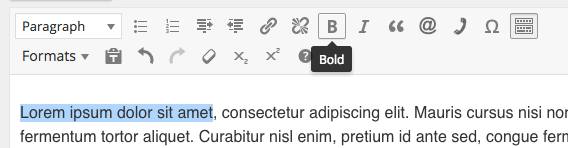
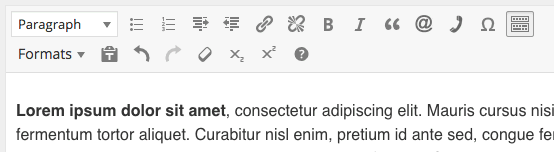
WordPress: Bold
Before applying bold formatting to text, see the section on using bold in the Website Style Guide.
Highlight the text and select the Bold button:
The bold text will be visible in the editor:
WordPress: Deleting Pages
Deleting pages is easy, but must be done with caution. Please contact helpdesk@yccd.edubefore deleting a page. Failure to do so can result in broken links.
WordPress: Embedding Individual YouTube and Vimeo Videos
YouTube and Vimeo videos can easily be embedded into Pages and Posts using a ‘shortcode.’ This code contains information within square brackets ([ ]) that WordPress converts to an accessible video player.
Follow these steps:
- In the WordPress editor, place your cursor where you wish the video to appear.
- Begin the shortcode by typing an opening square bracket: [
- Add the shortcode name: hmc-video
- Obtain the video ID from the video platform.
- YouTube video IDs are 11 alphanumeric characters e.g. DF7Bj1QRdsg.
- Vimeo video IDs are 9 numbers e.g. 192417650
- Add the video ID number like this: id=”<insert video ID here>”
- Add a title for the video. Use the title as it is displayed on the video website. e.g. title=”Yuba College is on a Mission”
- Close the shortcode: ]
The final shortcode for the Yuba College mission video would therefore look like this:
[hmc-video id="cX_fgvFiEuE" title="Yuba College is on a Mission"]
And when you save the Page or Post and view it, will be displayed thus: